Showing posts with label dessert. Show all posts

Vanilla ice cream without eggs

vanilla ice cream without eggs
2 cups whipping cream
1 cup milk
3/4 cup sugar 
pinch of salt
1 vanilla bean

In a saucepan heat 1 cup cream, sugar and salt.  Put both the vanilla seeds and pods in the pan.  Stir the mixture over medium heat until the sugar is dissolved.  Remove from heat and add the rest of the cream and milk.  Mix well.  

Chill this mixture in the fridge for several hours or overnight until it is completely cold.  Take the vanilla bean pod out before churning.  Process the mixture in the ice cream machine for about 25 minutes.  Put the ice cream in an airtight container and let it firm by freezing it for several hours.
This recipe is adapted from here.

All rights reserved on photographs and written content Torviewtoronto © 2012 unless mentioned. Please Ask First

This recipe goes to show me your dessert.

Sweet snack (murukku)


For the dough
2 cups flour
1/4 tsp baking powder
1/4 tsp salt
1 tbsp margarine
water to knead

Knead everything to form a smooth soft firm dough.  Let the dough rest for about 1/2 hour or more.  Dust flour lightly on the board and roll it thin, as much as you can :)  


Then score with a sharp knife horizontally, then diagonally to make individual diamond shapes.  Remove the cut pieces and leave it ready to fry in a lightly flour dusted tray, so it is easy when frying.  
oil to fry about 2" high

Heat the oil in medium high heat.  The oil is ready when the the dough rises quickly to the top and puffs.  If it is getting dark too fast reduce the heat and fry.  Fry the diamond pieces until it become golden brown, it shouldn't not get dark.  
Turn the other side so all sides get evenly golden brown.  
Remove from the oil with a slotted spoon and drain it in a platter with paper towels for it to cool.  
For the syrup
3 tbsp sugar
4-5 tbsp water
1/4 tsp saffron thread
1/4 tsp cardamom ground optional

Combine everything in a big pan and bring to a boil.  When the syrup thickens; one string consistency, remove from heat and add the cooled fried snack to the hot syrup.  


Toss the pan to make sure all the pieces are coated; try not to break the murukku if you are using a utensil to toss.  This step has to be done fast :)  It will become sticky.  
Let the sugar coated murukku cool before storing in an air-tight container.  This will last for more than a week or more, I haven't got a chance to keep it for too long because everyone in our home likes to snack on this murukku.  
Eid Mubarak to everyone celebrating :) 
Calligraphy card I made
All rights reserved on photographs and written content Torviewtoronto © 2011 unless mentioned. Please Ask First

Kellogg's Krave cereal, granola and crisps


I tested the products below from Kellogg's Canada.  Chocolate lovers will enjoy the Kellogg's Krave, which is made with 8 whole grains and source of fibre.  Krave is available in chocolate and double chocolate flavours.  It makes a delicious breakfast or snack that children will easily like.  It tastes better with milk.  I like to mix it with some cornflakes :) as I am not a big fan of a chocolate breakfast.

Special K low fat granola cereal is made with crunchy whole grain oats and a touch of honey.  The box states that the cereal has 50% less fat.  It is made with high source of fibre and protein.  It tastes better when we add yogurt and fruit or have it with milk.  I would prefer to mix it with other cereal or fruit/nuts instead of having it on its own.  It would be better if the cereal only has honey as a sweetener instead of including other sweeteners such as cane juice, molasses, sugar and corn syrup.
This cereal kit is cool and useful to have breakfast on the go.  It keeps the milk cold and cereal fresh.  The milk cup has a non-toxic freezer gel so freeze it before pouring the milk.  Hand wash the container and don't put it in the microwave.

Our sweet cravings can be indulged with the Special K Crisps anytime of the day.  The crisps are available in chocolate and cinnamon brown sugar flavours.  Each pack has 2 crisps, perfect for a snack on the go or to enjoy anytime.  It is crispy on the outside and has a filling on the inside.  The crisps have a chocolate or vanilla drizzle on top.
Fun facts about Kellogg's
W.K. Kellogg found the company in 1906 as the Battle Creek Toasted Corn Flake Company.  His signature has always been the brand logo.
Tony the Tiger was introduced in 1951.
Eggo waffles (part of Kellogg's brands) celebrated their 75th birthday.
Kellogg's products are manufactured in 18 countries and sold in more than 180 countries.

All rights reserved on photographs and written content Torviewtoronto © 2012 unless mentioned. Please Ask First

Mango ice cream


2 cups (3 large) ripe mangoes peeled and remove seed
3/4 cup sugar *
1 1/2 tbsp lemon juice
1 cup whipping cream
3/4 cup milk
2 to 3 tbsp cashew nuts chopped


* Increase the amount of sugar if the mangoes aren't very ripe.
Puree the mango with 1/4 cup sugar and lemon juice in a blender until it is smooth.  In a large bowl combine cream, milk and the remaining sugar and stir until the sugar dissolves.  Stir in the mango mixture without beating.
Chill the mixture for an hour or more and then pour into the ice cream machine.  Churn for about 25 to 30 minutes according to the manufacturer's instructions.  Towards the last 5 minutes add the chopped cashew nuts.  The ice cream can be served right away, it will be a little soft.  I served after freezing the mixture for about 3 hours.


This recipe is adapted from here.
If you don't have an ice cream machine... 
Then pour the mixture into a wide, airtight container and put in the fridge for about 1 hour.
Then place in the freezer for 1/2 hour.
Beat the mixture with an electric mixture until it is smooth.  
Put it back in the freezer for about 40 minutes until it is frozen.  
Then beat the mixture again with an electric mixture. 
Freeze again for another 40 minutes.   Then beat the mixture. 
Do this 3 times, the more you beat and do this process the ice cream will become soft. 


Please see the side panel of the site for lots of giveaways US and Canadian.  Also a reminder about the event Know your flours: Millet that I am guest hosting.  Thank you friends :)


All rights reserved on photographs and written content Torviewtoronto © 2012 unless mentioned. Please Ask First

Know your flours: Millet flour event

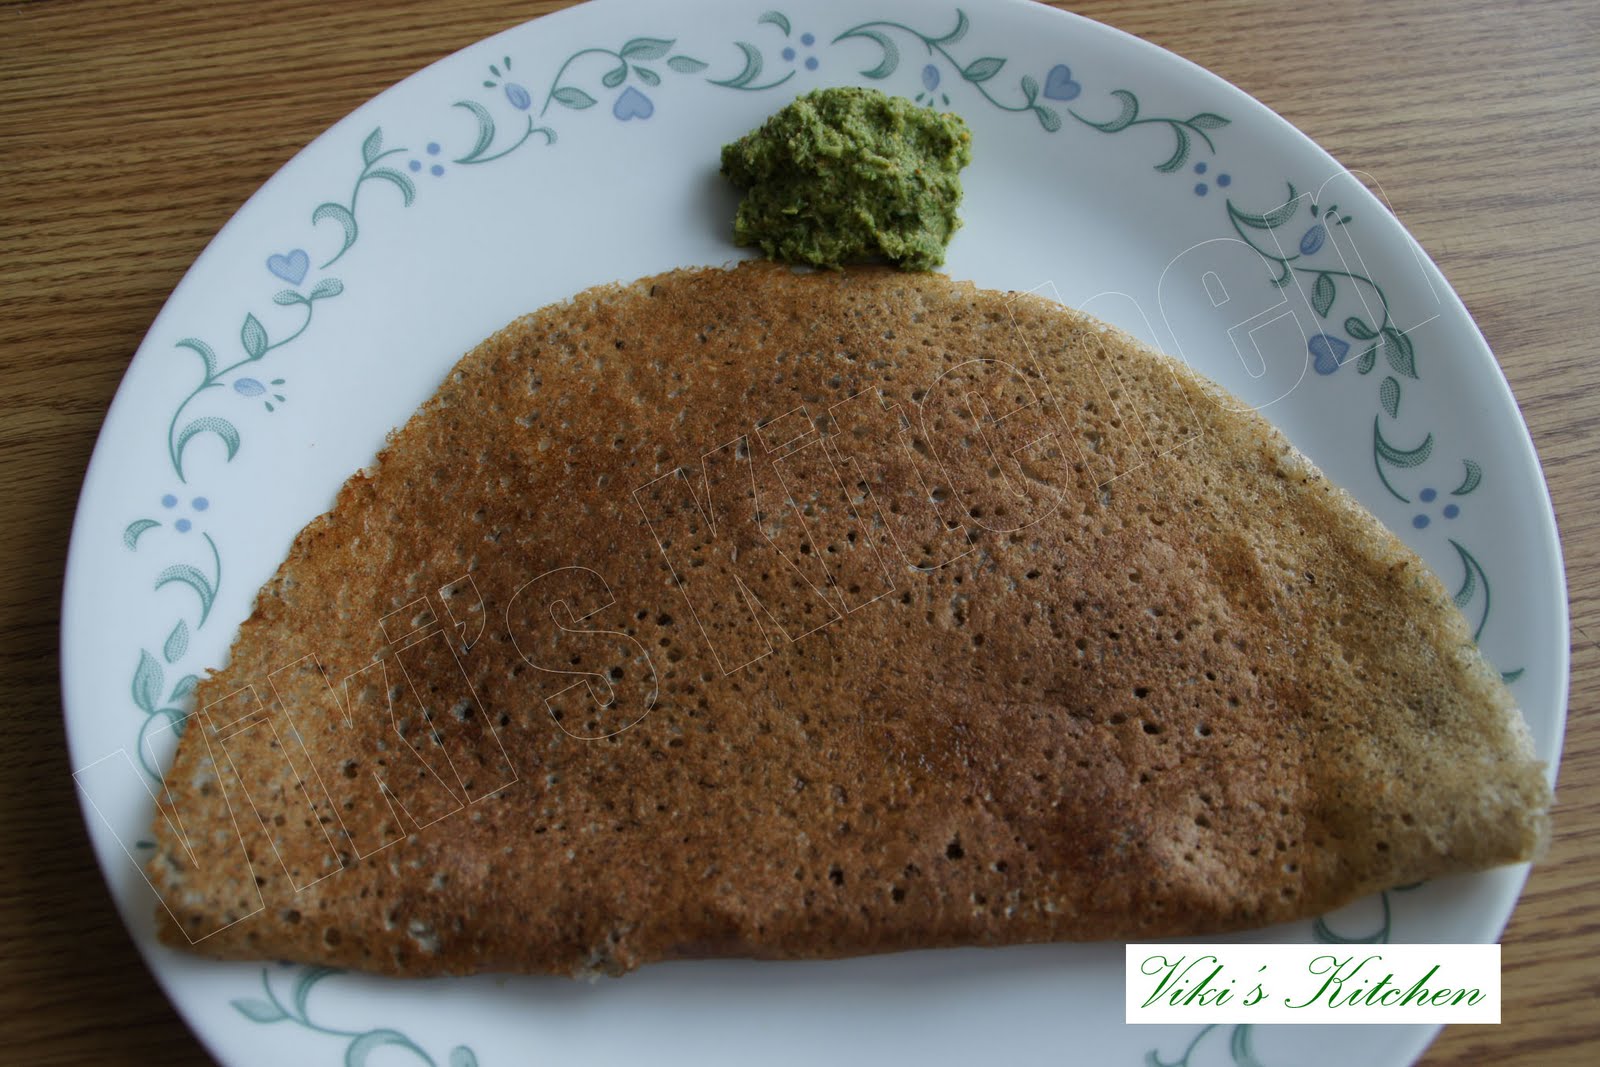
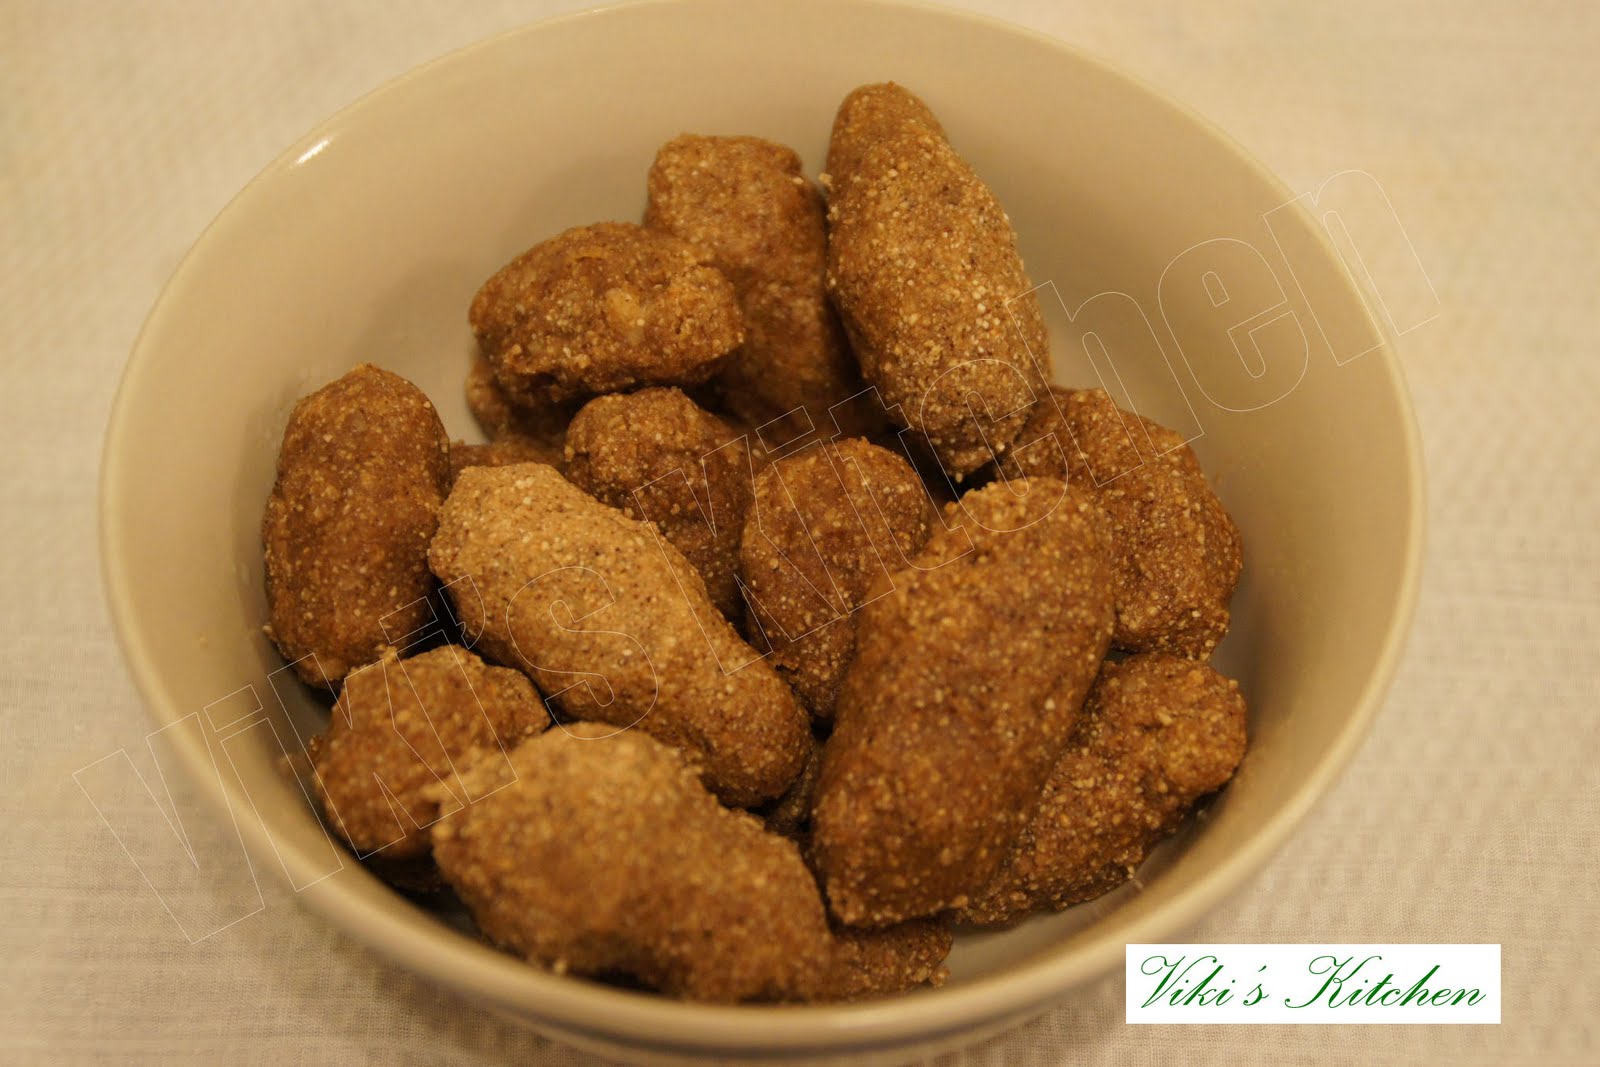
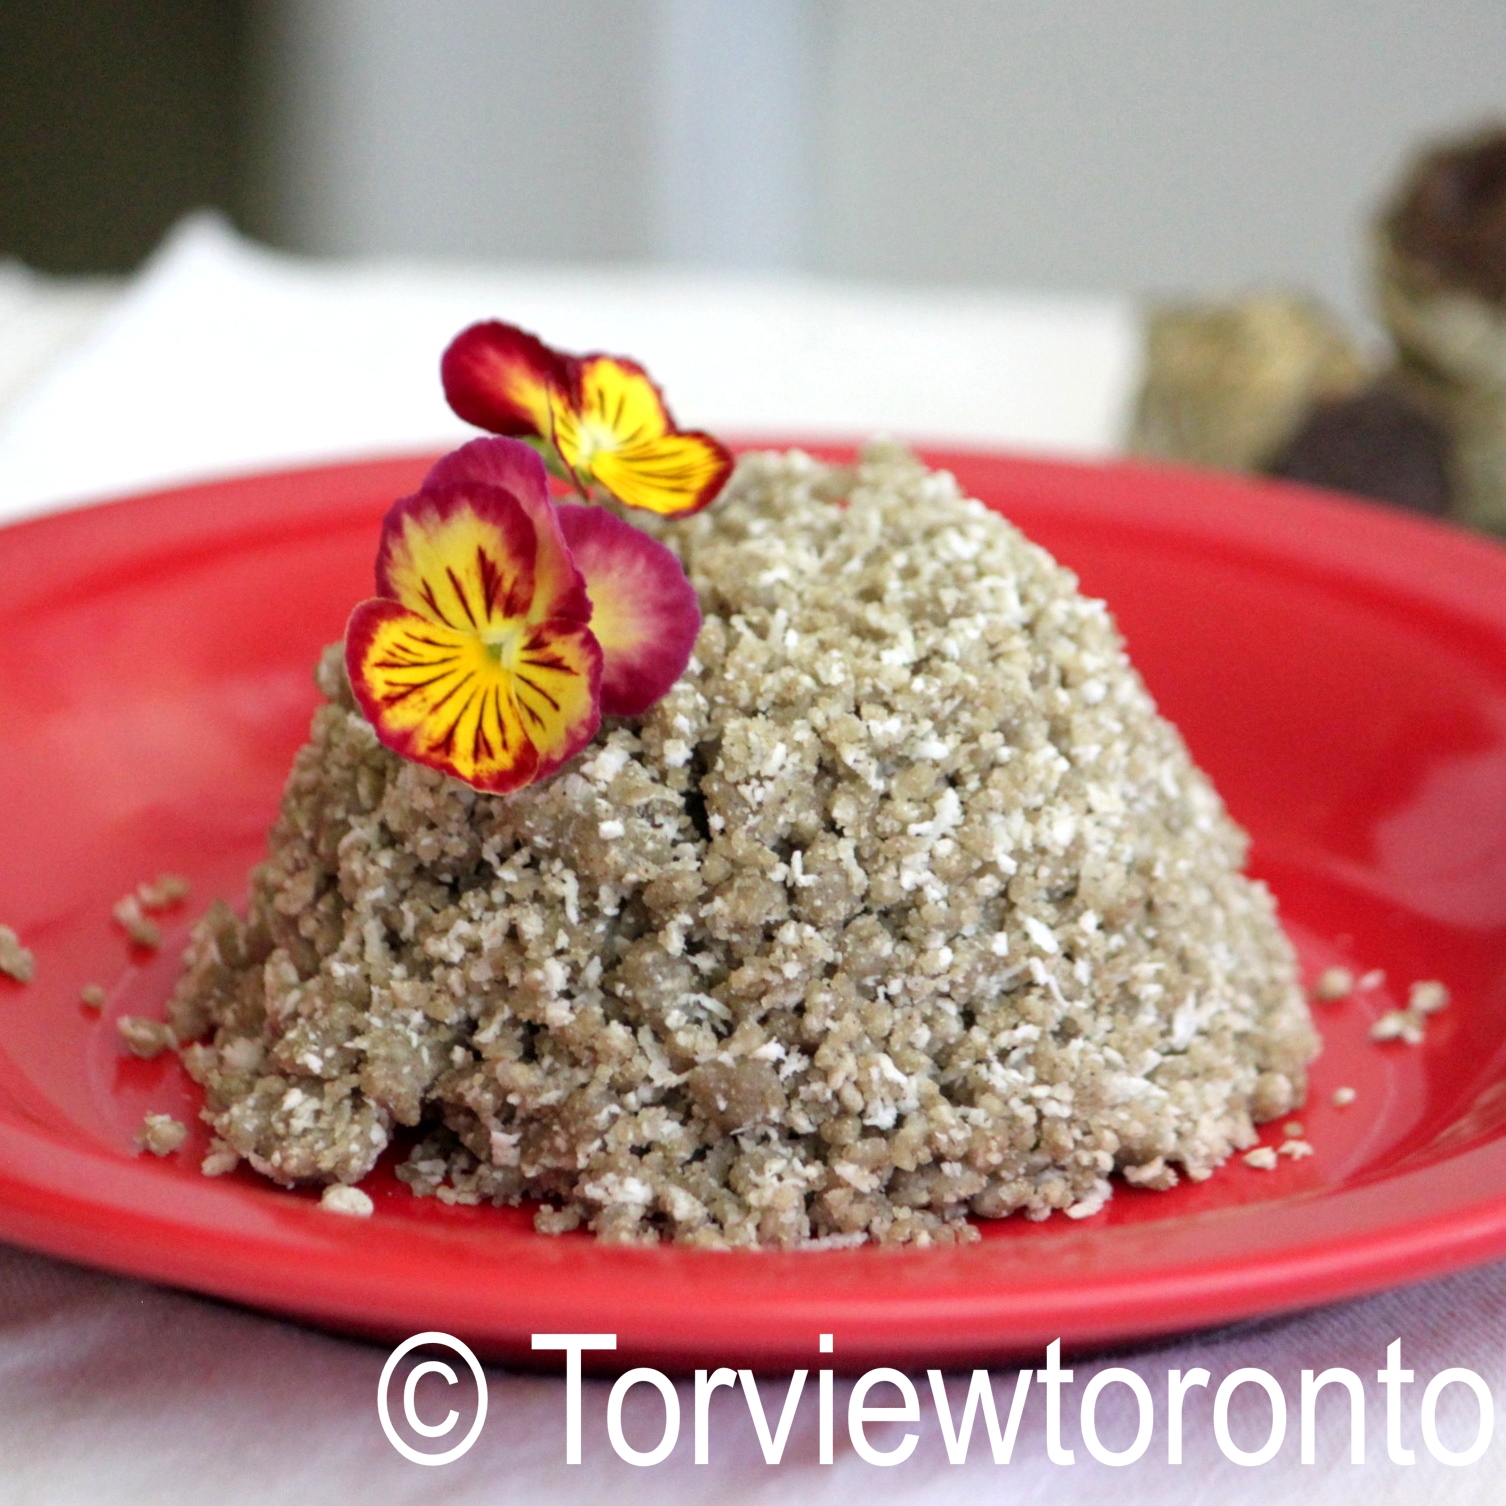
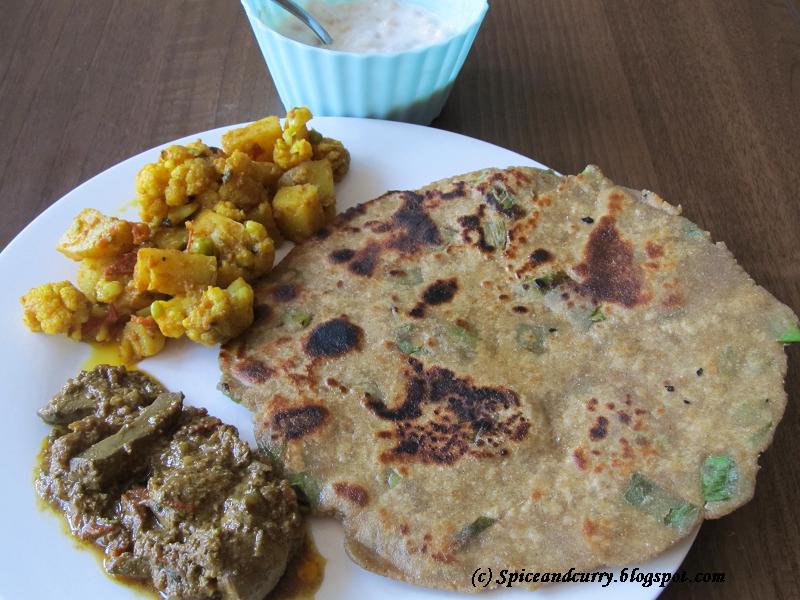
Thank you for sharing your recipes to the Know your flours: Millet flour event from July 10th to August 9th.


1. Bajari rotla 2. Bajra na rotla 3. Multi flour crackers 4. Kambu dosai
5. Kambu kolukkattai 6. Masuru bhakari 7. Millet flour fudge 8. Beans with sage and millet
9. Millet flour steamed meal pittu 10. Millet flour spring onion paratha 11. Millet flour pakora

Amaretti cookies

Grace's sweet life is a book full of delicious homemade Italian dessert recipes written by Canadian blogger Grace Massa Langlois.  Grace has an Italian background and has learned her cooking knowledge from her mom. With her children's support, she started sharing her love for food with the world.

All the basics are in the beginning of the book with tips and explanations.  Grace has put in different types of variations that exist on the recipes.  Some of the basics are pastry cream, chantilly cream, sweetened whipped cream, ricotta cream, Italian meringue, egg foam base for semifreddo and mousse, sweet pastry doughty, pie dough, croissants, hazelnut praline, puff pastry and choux pastry.

The pies and tart recipes in the book are presented beautifully.  The pastries and fried desserts such as Sicilian cannoli, honey balls, profiteroles and many more are in a different section.  The creams, custards, mousses and soufflés section is full of colourful desserts.  Some desserts require gelatine. The recipes in the frozen and fruit desserts section will be enjoyed during this heat.

The book has delicious Italian cake and cheesecake recipes.  Some cakes require the yeast for cake with vanilla (Lievito Vaniglinato) and liquor, so I couldn't try most of the cakes.  I will be looking for the yeast soon :)  I would have liked if there were suggestions of what ingredients we can be substitute to replace the liquor, as I don't use it.
The cute mini dessert section has six fabulous looking detailed recipes.  I tried the soft amaretti cookies from the cookies and confections section. The recipe in the book makes six dozen cookies so I reduced the ingredients to make one third of the recipe.
Here is the original recipe from the book
3 eggs
1 1/3 cup superfine sugar (I pulsed granulated sugar)
4 1/2 cups less 1/2 tbsp almond meal (blanched almonds dried then finely ground)
confectioners sugar for rolling (I didn't do this part)
silver dragées for decorating (I didn't use this)

Separate the eggs in to two bowls.  Let the egg yolk and egg white come to room temperature, leave it covered with plastic wrap for 1/2 hour before whisking.
With a whisk beat egg yolks then add the sugar and whisk until the sugar is combined.  Add the ground almond meal and whisk till combined, don't over mix.
With a clean whisk beat the egg whites to barely a soft peak, this is very important don't overbeat.
Fold one third of the egg whites into the almond mixture then fold the rest and combine don't over mix.
Cover and refrigerate the cookie dough for about 1 hour or overnight.  
Bake in a preheated 325F oven on a baking mat. Roll the cookie dough into 1 tbsp balls.  Roll the balls in icing sugar and place a sliver dragée if using in the center.  Don't flatten the cookies. Bake 20 cookies per sheet for 25 to 30 minutes rotating the baking sheet halfway through.  Place the baking mat on a wire rack and allow the cookies to cool for two minutes.   Using a spatula transfer the cookies on to the wire rack to let it cool completely.

All rights reserved on photographs and written content Torviewtoronto © 2012 unless mentioned. Please Ask First

Almond cardamom whoopie pies

Almond cardamom whoopies
This Whoopie pie book is cute and written in a friendly manner.  I like that the authors have placed the page numbers beside the recipes, which make it easy to access the recipes.  The first whoopie pie I made are pumpkin whoopie pies, which is one of my favourite; I mostly make it during fall.
The introduction in this book is a must read as it will be useful to make whoopies.


Whoopies are soft, round shape cake/cookies that have a creamy filling.  It is not quite a cake or a sandwich cookie.  For me, it has a childhood taste of something that tastes similar to these yummy whoopies without the cream; I actually prefer without the cream :)
The book makes us go down our own childhood memory lane.  It is definite that once you make or taste a whoopie pie it is very likely that you will enjoy it.


The cake or soft cookie part of the whoopie can be made a head of time and it can be frozen up to a month.  Defrost 2 hours at room temperature before filling.
Most fillings such as buttercream stay in the fridge for up to a week.  Bring to room temperature about an hour before filling.  The marshmallow or whipped cream filling doesn't store well so use these right away.  Assembled pies store in airtight container for up to 3 days.  It can be individually wrapped and frozen up to one month.


There are lots of combinations that have been suggested and experimented in the book for us to try and get started.  The book also has places where we can find hard to find ingredients, sources, places in USA where whoopies are sold and about the annual whoopie festival that is held in Pennsylvania.
This book is available online, amazon and at bookstores i.e. Chapters.

First, I tried the Classic chocolate whoopie recipe from the book, however I didn't like the strong baking soda taste in it.  I am not sure if there is an error in the amount of baking soda.  Although it looks good I prefer not to share the recipe as it wasn't tasty.

Then, I tried this pistachio cardamom whoopies by replacing the pistachio with almonds and it tasted fabulous.  I didn't put any filling because we enjoyed the cake like cookies on its own.  It had a beautiful aroma.


3 cups flour
1 1/2 tsp baking powder
1 tsp ground cardamom
1/2 tsp salt
1/2 cup butter softened
3/4 cup sugar
3/4 cup brown sugar
1 egg
1 tsp vanilla (I replaced with rose water)
1 cup buttermilk
3/4 cup ground pistachio (or almonds, hazelnuts or macadamia nuts)


*can be replaced with a favourite spice i.e. cinnamon, ginger, ground spices
Sift flour, baking powder, cardamom, salt and leave it a side.  Beat butter with the sugars until it is fluffy and smooth.  Add the egg and beat well.  Add vanilla or rose water and beat.
Add half of the flour mixture then buttermilk beat till incorporated.  Add the rest of the flour and buttermilk beat till combined.  Add the ground nuts and mix till combined.
Using an ice cream scoop (2 tbsp) drop the batter onto the baking sheet or wax paper 2" apart.  Bake for 10 minutes at 350F until it is brown, I inserted a skewer to check.  Leave the whoopies in the sheet for 5 minutes before transferring on to a rack to cool completely.


Giveaway on Createwithmom
The Smart Mother's guide to a better pregnancy book giveaway worldwide ends July 15th, please leave a comment on the post to enter.

All rights reserved on photographs and written content Torviewtoronto © 2012 unless mentioned. Please Ask First

Basic Chiffon cake from Tartine


I enjoyed looking through and following the recipes of the book, Tartine by Elisabeth M. Prueitt and Chad Robertson.  The authors of this book, as many of you know are chefs and bakery owners of Tartine in San Francisco.  They use fresh seasonal ingredients in their recipes.  The recipes in the book are detailed and the ingredients are reduced for home use.  It is easy to follow so we can make bakery style croissants, fruit tarts and tender cakes at home.

I like the black and white images and the colourful pictures in the book.  The vivid details in the introduction and other chapters of the book were interesting to read.  If I visit San Francisco, I would want to taste the fresh baked pastries and goodies from Tartine bakery after reading this book :)

There are few tips and suggestions throughout the book such as leave the peel and sometimes the seeds i.e. cherry and apricot to enhance flavours in the baked goods.  Leaving the apricot pit will make the desserts have an amaretto liqueur taste.

I tried a few recipes from the book, which turned out well.   I am looking forward to make the quiche, chocolate cake and ginger pudding soon.  There are lots more recipes such as how to make croissants, puff pastries, brioche and more.

Here is the recipe for the basic chiffon cake from the book Tartine.

2 1/4 cups flour
2 tsp baking powder
1 1/2 cups sugar
1/4 tsp salt
1/2 cup vegetable oil
6 egg yolks (1/2 cup)
3/4 cup water
2 tsp vanilla
1 1/2 tsp lemon zest grated
10 egg whites (1 1/3 cups)
1/4 tsp cream of tartar or lemon juice
egg whites at room temperature

Sift the flour and baking powder.  Then whisk the 1 1/4 cups sugar and salt to the flour.
In a small bowl whisk oil, egg yolks, water, vanilla and lemon zest.
Make a well in the flour mixture, add the yolk mixture and whisk thoroughly and quickly for about 1 minute until it is smooth.
Beat the egg whites until it is frothy.  Add the cream of tartar or lemon juice and beat until the whites hold soft peaks.  Add the 1/4 cup sugar and beat on medium high speed until the whites are firm and have shiny peaks.  
Add 1/3 of the beat egg whites to the yolk mixture and then fold it in gently to lighten the batter.  Fold in the remaining whites until combined.
Line the bottom of a 10" springform pan with 3" sides using a parchment paper cut to fit exactly.  Don't grease the sides of the pan.  Pour the batter into the pan smooth the top and bake in a 325F preheated oven for 45 to 55 minutes until the skewer inserted into the center comes out clean.  Let the cake cool in the pan on top of a wire rack.  Unmould the cake and then peel off the parchment.
The cake keeps well wrapped in the fridge for 4 days or in the freezer for up to 1 month.

This goes to cake recipes event.
All rights reserved on photographs and written content Torviewtoronto © 2012 unless mentioned. Please Ask First

Mint Ice cream and vanilla bean giveaway


The season to enjoy ice cream is here.  I adapted this minty delicious ice cream from Fresh Juice magazine.  I used Nielsen-Massey vanilla beans which gave a delicious fragrant to this ice cream.  I always make vanilla infused sugar with the vanilla beans so it would last longer and I would have fragrant sugar for the cakes as I don't use vanilla with alcohol.

Mint Ice cream
1 cup milk
1 cup whipping cream
3/4 cup fresh mint leaves
4 egg yolks
1/3 cup + 2 tbsp vanilla infused sugar

Blend the milk, whipping cream and mint leaves in the blender until the leaves are pureed.  Transfer to a saucepan and let it come to a boil, remove from heat and let it steep for 20 minutes covered.  
After 20 minutes strain the mixture and discard the pulp.


In a heat proof bowl beat the egg yolks and sugar until it is pale and fluffy.  Add the strained warm mixture to the egg mixture while beating.  

Transfer the mixture to the saucepan and let it heat on medium high heat for a few minutes until the content coats the back of the spoon.  Don't let it boil, keep stirring.  
I found that if we keep cooking for a long time the mixture becomes foamy, so cook only for about 3 to 4 minutes.  
Strain the mixture and leave it to cool completely.  

Transfer the completely cooled mixture into the ice cream machine, follow the instructions on the manual and put the machine on for about 20 to 25 minutes.  Serve it cold.    


Nielsen-Massey is offering a 2 bean vial of Madagascar Bourbon whole beans to the readers of Torviewtoronto and Createwithmom.  
Please leave a comment on this post if you want to win it.  The giveaway ends on May 30th.  It is open to everyone in USA and Canada.
Please follow my twitter and Facebook, so you know when the winner is announced.
Update: The winner is Nami

All rights reserved on photographs and written content Torviewtoronto © 2012 unless mentioned. Please Ask First

Chocolate Mousse


2 egg yolks
6 tbsp sugar finely granulated
hot water and cold water

Beat the egg yolks and sugar in a stainless steel bowl until the mixture is thick and pale yellow.  It should form a slowly dissolving ribbon.  Set the mixing bowl over the not-quite simmering water and beat for 3 to 4 minutes until the mixture is foamy and too hot for the the  fingers.  
Then beat over cold water for 3 to 4 minutes until the mixture is cool again and forms a ribbon.  
The consistency is the same as mayonnaise.

3 oz semi sweet  baking chocolate
2 tbsp coffee *
3 oz softened unsalted butter

Melt chocolate with coffee over hot water, remove from heat and beat in the butter a little at a time to make a smooth cream.  Beat the chocolate mixture into the egg mixture.  
* I only used 1/2 tbsp of nescafe because we don't like strong coffee taste :)

2 egg whites
1/8 tsp salt
1/2 tbsp sugar

Beat the egg whites and salt until it forms soft peaks.  Sprinkle the sugar and beat until it is stiff.  Stir 1/4th of the egg whites in to the chocolate mixture then fold in the rest.

Put the mixture into serving dishes and refrigerate for 2 hours or overnight.  Serve with whipped cream.
This recipe is adapted from Mastering the Art of French Cooking Volume 1 by Julia Child. Copyright © 1961 by Alfred A. Knopf. Reprinted with permission from the publisher Alfred A. Knopf, a division of Random House, Inc.
All rights reserved on photographs and written content Torviewtoronto © 2012 unless mentioned. Please Ask First

Chocolate chip shortbread cookies


1/2 cup butter softened
1/2 cup vanilla infused sugar
1 cup flour
1/4 tsp salt
1/4 cup chocolate chips

Beat butter and sugar till it is fluffy. Add flour, salt and mix well then add the chips.
It could be made into individual sizes by making about 12 balls and lightly flatten it about 1/2" high. Bake in a preheated 375F oven for 8 to 10 minutes, it will harden a little once it is removed from the oven so don't over bake as it might burn on the bottom.

Let the cookies stay on the baking sheet over a wire rack for about 5 to 10 minutes before removing. Can be stored in an air-tight container.

Also posted here.


All rights reserved on photographs and written content Torviewtoronto © 2012 unless mentioned. Please Ask First